
Listen to the article
I started my concealed carry journey about five years ago, and one of the biggest things I have learned is that it is never really a finished process.
Life changes. Your body changes. Your job changes. Your wardrobe changes. The places you go and the way you spend your time change too. Concealed carry has become one of those things that I am constantly adapting to instead of something I figured out once and never had to think about again.
When I first started carrying consistently, I thought I needed to dress around my gun.
I had certain jeans that worked, certain shirts that worked, and certain outfits that felt almost impossible to carry in. I found myself looking at clothes and asking, “Can I carry in this?”
Over time, I realized that was the wrong question.
What I really needed was a more versatile draw technique and more experience training from different concealment garments and outfit types.
That realization completely changed the way I approached concealed carry.
Instead of assuming one holster position needed to work with every outfit I owned, I started thinking about concealed carry as a skill set. Different outfits might require different concealment methods, and different concealment methods might require slightly different draw techniques.
That is what this series is about.
Over the next few articles, I am going to break down several different ways I personally carry and train from them. We will start with deep concealment, move into a more traditional appendix inside-the-waistband setup, and then look at the inside-the-waistband setup I use when I compete in USPSA.
Each article will also include a drill so you can actually practice the technique instead of only reading about it.
Why Deep Concealment?
Women’s clothing does not always cooperate with traditional concealed carry.
A lot of women’s outfits simply do not give you much fabric above the waistband to conceal around. High-waisted jeans, fitted tops, leggings, dresses, crop tops, and other fitted clothing can make a traditional appendix setup harder to hide.
That does not automatically mean you cannot carry in those clothes. Sometimes it just means the firearm needs to sit differently.
Deep concealment positions the firearm lower than a traditional appendix setup. Depending on the outfit, that might mean carrying deeper inside high-waisted or mid-waisted jeans, or it could mean carrying completely underneath another layer of clothing.
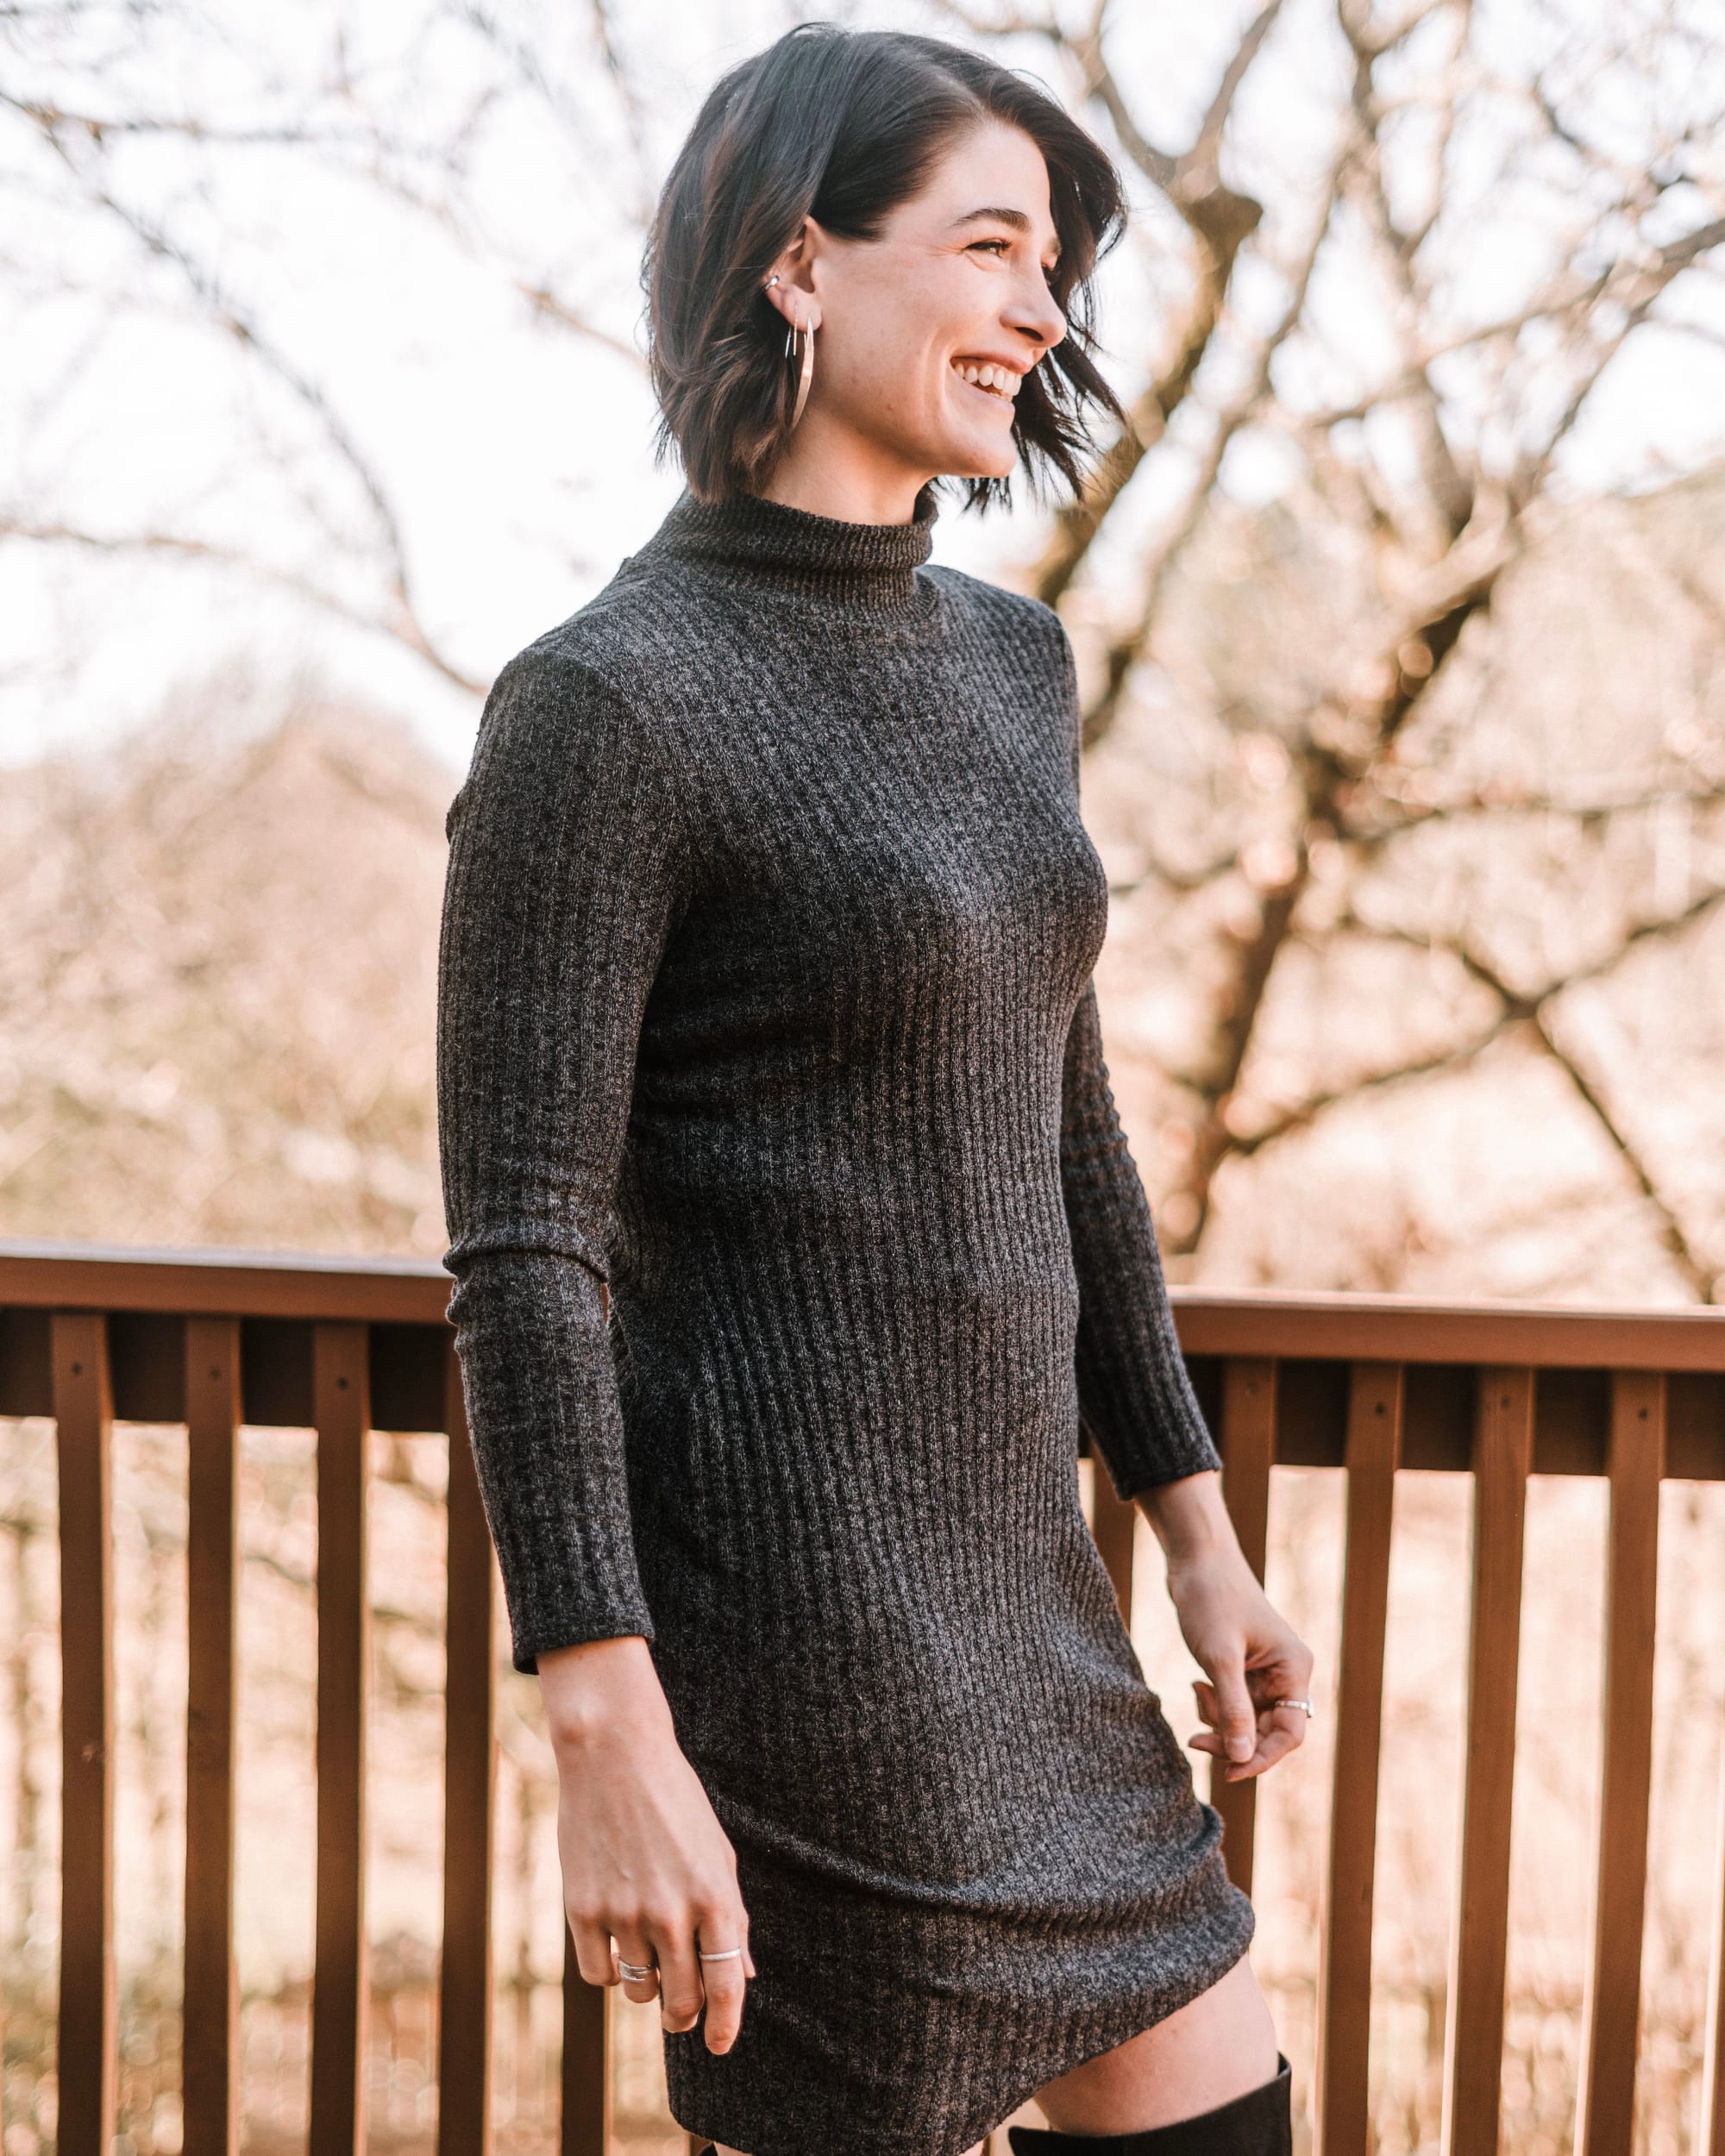
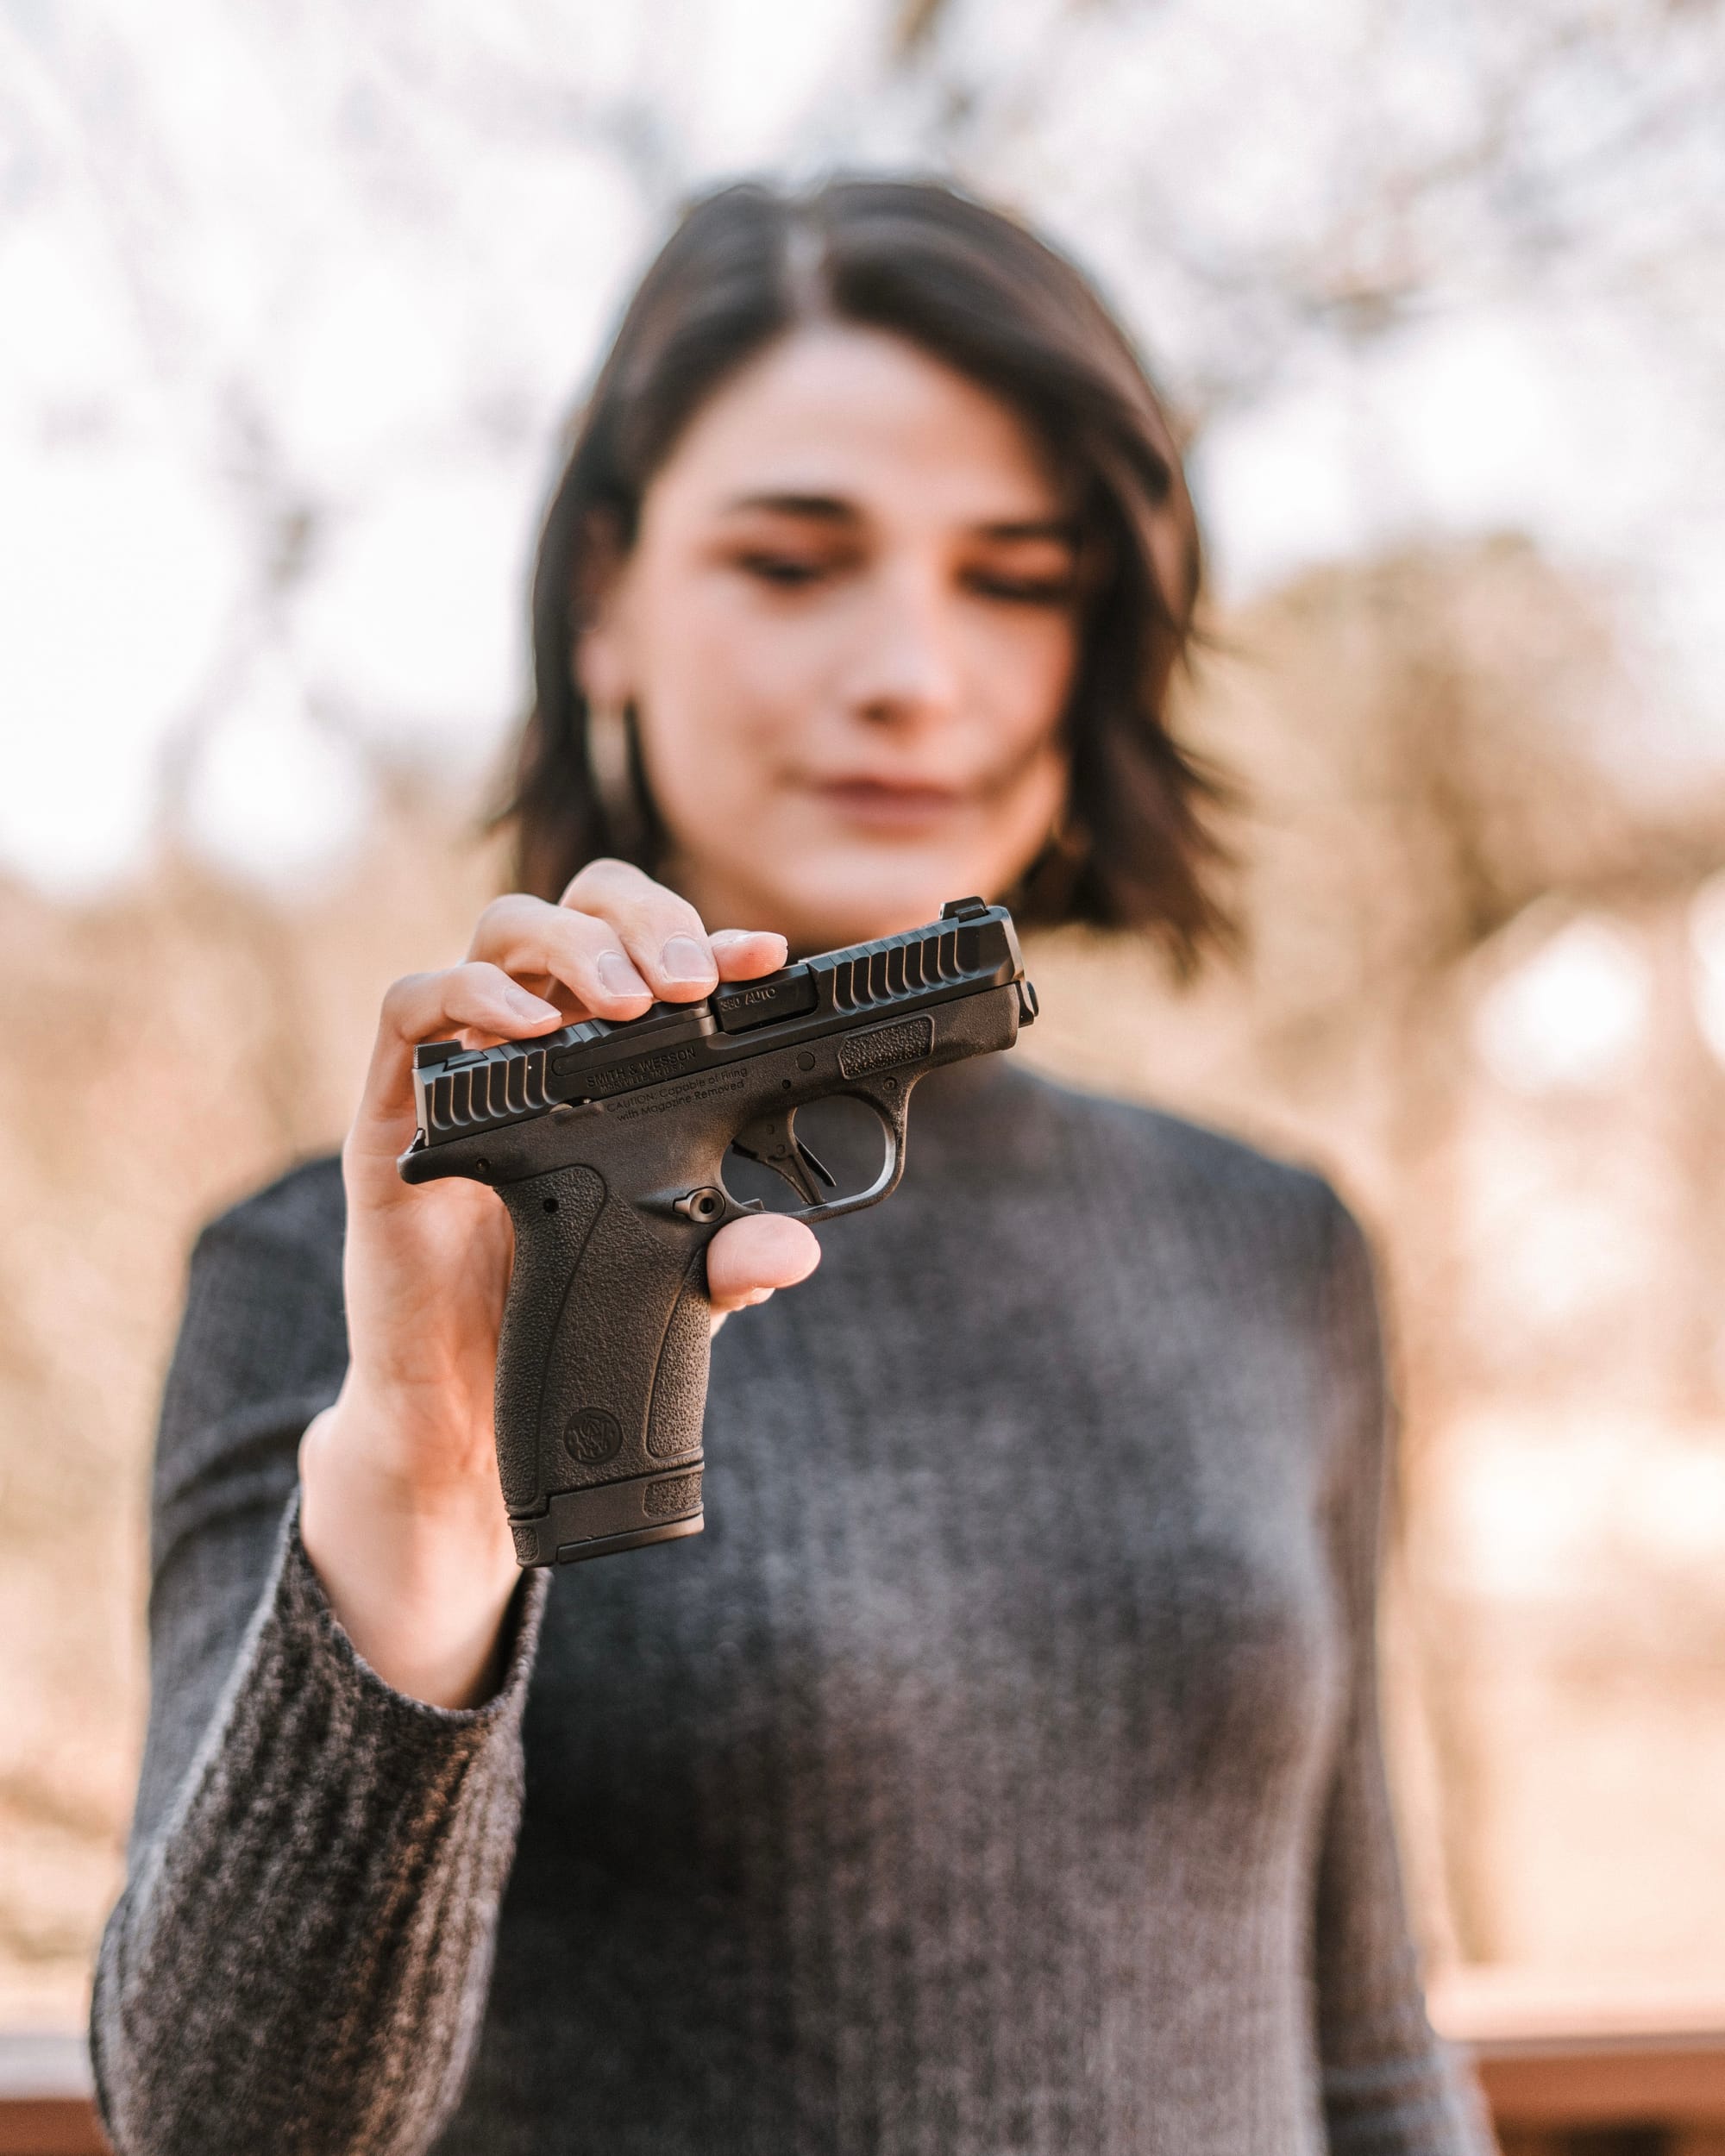
The photos with this article show one example of how I personally use deep concealment. The holster in the photos is the Phlster Enigma 2.0- this holster is a complete inside-the-waistband system that does not require an attachment point to your pants or a belt.
I am wearing spandex shorts underneath a fitted sweater dress. The shorts give me a place to support my concealment setup while the dress falls naturally over it.
For me, this was a much better solution than deciding I simply could not wear fitted dresses anymore because I carried a firearm.
That is one of the biggest lessons concealed carry has taught me over the last five years. Sometimes you do not need to change your entire wardrobe. You need to expand the ways you know how to carry and, more importantly, the ways you know how to access your firearm.
The Draw Is Different
Deep concealment changes the draw because the firearm sits lower than it would in a traditional appendix setup. Instead of simply clearing the shirt and establishing a full firing grip, I have to reach farther below the waistband.
My draw process looks like this:
- Clear the concealment garment completely.
- Reach down into the waistband with three fingers to gain a purchase on the firearm grip.
- Begin building the grip around the backstrap.
- Use the thumb to finish establishing the grip (ensure the thumb is wrapped around the rear of the firearm fully, not just planted atop the backstrap).
- Drive the firearm upward while pushing directly out as your support hand clears of the clothing.
- Continue into the presentation and (optionally) perform one clean trigger pull.
- Reholster slowly, as deep concealment can be slightly more dangerous due to the lack of visibility of your firearm. Take your time on this step and reset.
Because the firearm sits deeper, I want to practice this movement slowly before adding speed.
Equipment also matters here. For deep concealment, I especially want:
- A rigid holster.
- Full coverage over the trigger guard.
- A holster that stays securely attached.
- A holster that maintains its shape when the firearm is removed.
Deep concealment puts your hand, clothing, and concealment system in a tighter space, so I want a hard barrier protecting the trigger while the firearm is holstered.
Deep concealment should not mean lowering your safety standards. It simply means learning another way to safely and consistently access the firearm.
Dry Fire Drill: Building Your Deep Concealment Draw
The goal of this drill is not to immediately be fast, rather the first goal is to make the movement consistent.
Before starting, check your firearm carefully. The firearm should be completely cleared, and there should be no live ammunition in the room where you are training. Establish a safe direction for dry fire before beginning.
Then put your holster on with the actual deep concealment outfit you want to practice.
That part matters more than people think.
If I want to become comfortable drawing from underneath a sweater dress, I need to practice in the sweater dress. Training in gym shorts and a T-shirt and assuming the movement will translate perfectly later is not the same thing.
Start slowly.
Clear the concealment garment, reach into the waistband, establish your grip, bring the firearm up and clear of the clothing, complete your presentation, and perform one dry fire repetition.
Reset completely and do it again.
Once the movement starts to feel consistent, begin gradually adding speed. One simple way to do that is to try to make each repetition about five percent faster than the one before it.
The important part is that the technique stays clean.
If your grip starts getting sloppy, your clothing is not clearing properly, or you feel yourself rushing through the movement, slow back down.
You can also start changing your beginning position.
Do not always start with your hands perfectly relaxed at your sides. Practice from a few different natural positions so you become comfortable accessing the firearm without relying on one rehearsed starting point.
Once you are comfortable with the movement, you can optionally add a shot timer.
Start with a generous par time that allows you to complete the draw cleanly. From there, gradually work that par time down as your technique improves.
The timer is there to give you feedback. It should not be what dictates your technique.

Train for the Life You Actually Live
Five years into carrying, I am still learning new ways to make concealed carry fit into my life. That is probably never going to stop, and I think that is a good thing.
Concealed carry is not just about buying a holster and finding one outfit that works. It is about learning how to safely and consistently carry through all of the different versions of your life.
Different clothes may require different concealment methods. Different concealment methods may require different draw techniques, and every one of those techniques needs to be trained.
In the next article, we will move into a more traditional appendix inside-the-waistband setup, how the draw changes when the firearm sits higher, and another drill you can use to practice it.
Stay safe and stay vigilant.
Read the full article here
6 Comments
Great insights on Defense. Thanks for sharing!
Solid analysis. Will be watching this space.
I’ve been following this closely. Good to see the latest updates.
Good point. Watching closely.
Interesting update on Training for the Way You Actually Conceal: Part I Deep Concealment for Women. Looking forward to seeing how this develops.
This is very helpful information. Appreciate the detailed analysis.