Listen to the article
When people picture concealed carry, this is probably the setup that comes to mind first.
A handgun inside the waistband, somewhere toward the front of the body, with a shirt covering it. Appendix inside-the-waistband carry, usually shortened to AIWB, is one of the most common ways people conceal a handgun. PHLster describes appendix carry as positioning the handgun forward of the hips and considers IWB one of the most practical and popular methods of concealed carry.
It is also the way I carry most often.
But one thing I have noticed over the years is that there can be a big difference between carrying a firearm and actually knowing how to access it efficiently.
You can buy the gun, buy the holster, put everything underneath your shirt, and technically be concealed. That does not automatically mean you have practiced clearing that shirt, consistently finding your grip, getting the firearm out of the holster, and building a repeatable presentation.
That is where training comes in.
In Part I of this series, we talked about deep concealment and how lowering the firearm below the traditional waistband position changes the way I access it. This time, I want to come back to the more traditional appendix setup and break down some of the details I look for before I ever start working on the draw.
Start With the Holster
Before talking about drawing more efficiently, I want to talk about what the firearm is sitting in.
A holster is safety equipment.
There are a few things I personally look for before I am comfortable carrying with one:
- Rigid protection around the trigger guard. I want the trigger completely covered by material rigid enough that it cannot be manipulated through the holster.
- Retention of the firearm. The gun should remain securely in the holster as I move through normal life.
- Retention of the holster itself. The holster needs to remain securely attached to me when I draw.
- A rigid holster body and opening. I prefer Kydex, as it has become the industry standard for customized holsters.
- A holster made for the specific firearm. When possible, I strongly prefer a model-specific holster rather than a universal-fit option because the dimensions of the gun and trigger guard affect fit and retention.
These are not arbitrary preferences. PHLster identifies trigger protection, retention, and the ability to safely reholster as three foundational requirements of a safe holster. Their guidance specifically calls for rigid trigger protection and a holster that retains both the firearm and its position on the body.
Fit matters too. A rigid holster molded around the dimensions of a particular firearm can use those dimensions to create predictable retention. Changing the shape of the firearm or using a poorly matched holster can change how securely that firearm is retained.
Kydex has become one of the most common materials you will see in quality concealed carry holsters because it can be formed specifically around a firearm while remaining rigid. Additionally, it does not degrade over time as much as softer materials, such as leather.
Do Not Ignore the Holster Clips and Belt
People spend a lot of time researching the holster and sometimes overlook what is actually attaching that holster to them.
I like strong clips with good retention on the belt. One example is Discreet Carry Concepts. Their HLR Gear Clips are specifically designed as high-retention attachment clips for equipment such as holsters and are available in configurations for common belt widths.
The belt matters too.
If I am using a belt-mounted holster, I want the belt to provide enough structure to support the weight of the firearm and keep the holster where I placed it. The gun, holster, clips, and belt are really one system. If one part moves unpredictably, the draw becomes less predictable too.
Finding Where the Gun Actually Belongs on Your Body
One of the most helpful concepts I have learned about concealment came from PHLster’s Concealment Workshop: peaks and valleys.
Your body is not a flat surface.
There are areas that naturally project outward, the peaks, and areas where your clothing naturally creates space, the valleys. PHLster teaches that placing the firearm in one of those natural valleys instead of directly on a peak can make a significant difference in how well the gun disappears beneath your clothing.
That is why there is not one perfect appendix position for everyone.
Someone may conceal beautifully directly around 12 o’clock while another person needs to move the firearm farther toward 1 or 2 o’clock. Your body shape, firearm, holster, belt height, and clothing all affect that decision.
I highly recommend PHLster’s free educational material on concealment mechanics, and especially the PHLster Concealment Workshop Facebook community. It has tens of thousands of members sharing real concealment setups across different body types, wardrobes, firearms, and experience levels. You do not need to own a PHLster holster to participate.
It is one of the resources I send people to because seeing concealment on actual bodies is much more useful than assuming one person’s setup should work identically for everyone.
Your Clothes Can Help Too
The holster is only one part of concealment. Your clothing is another.
I have found that some simple wardrobe choices can make a noticeable difference without requiring me to completely change the way I dress.
Patterns can help break up outlines. Texture can help too. PHLster similarly recommends looking at how fabric drapes over the body and notes that patterns and texture can help reduce visible printing.
I also personally tend to have an easier time concealing under materials with a little more substance. Think wool, fleece, sweaters, or thicker cotton compared with extremely thin, clingy material.
Again, the goal is not to build your entire wardrobe around your firearm. The goal is learning which combinations of placement, equipment, and clothing work with your body.
The Appendix Draw
Once my equipment and placement are sorted out, I can start working on the draw itself.
I break the movement into a few simple pieces:
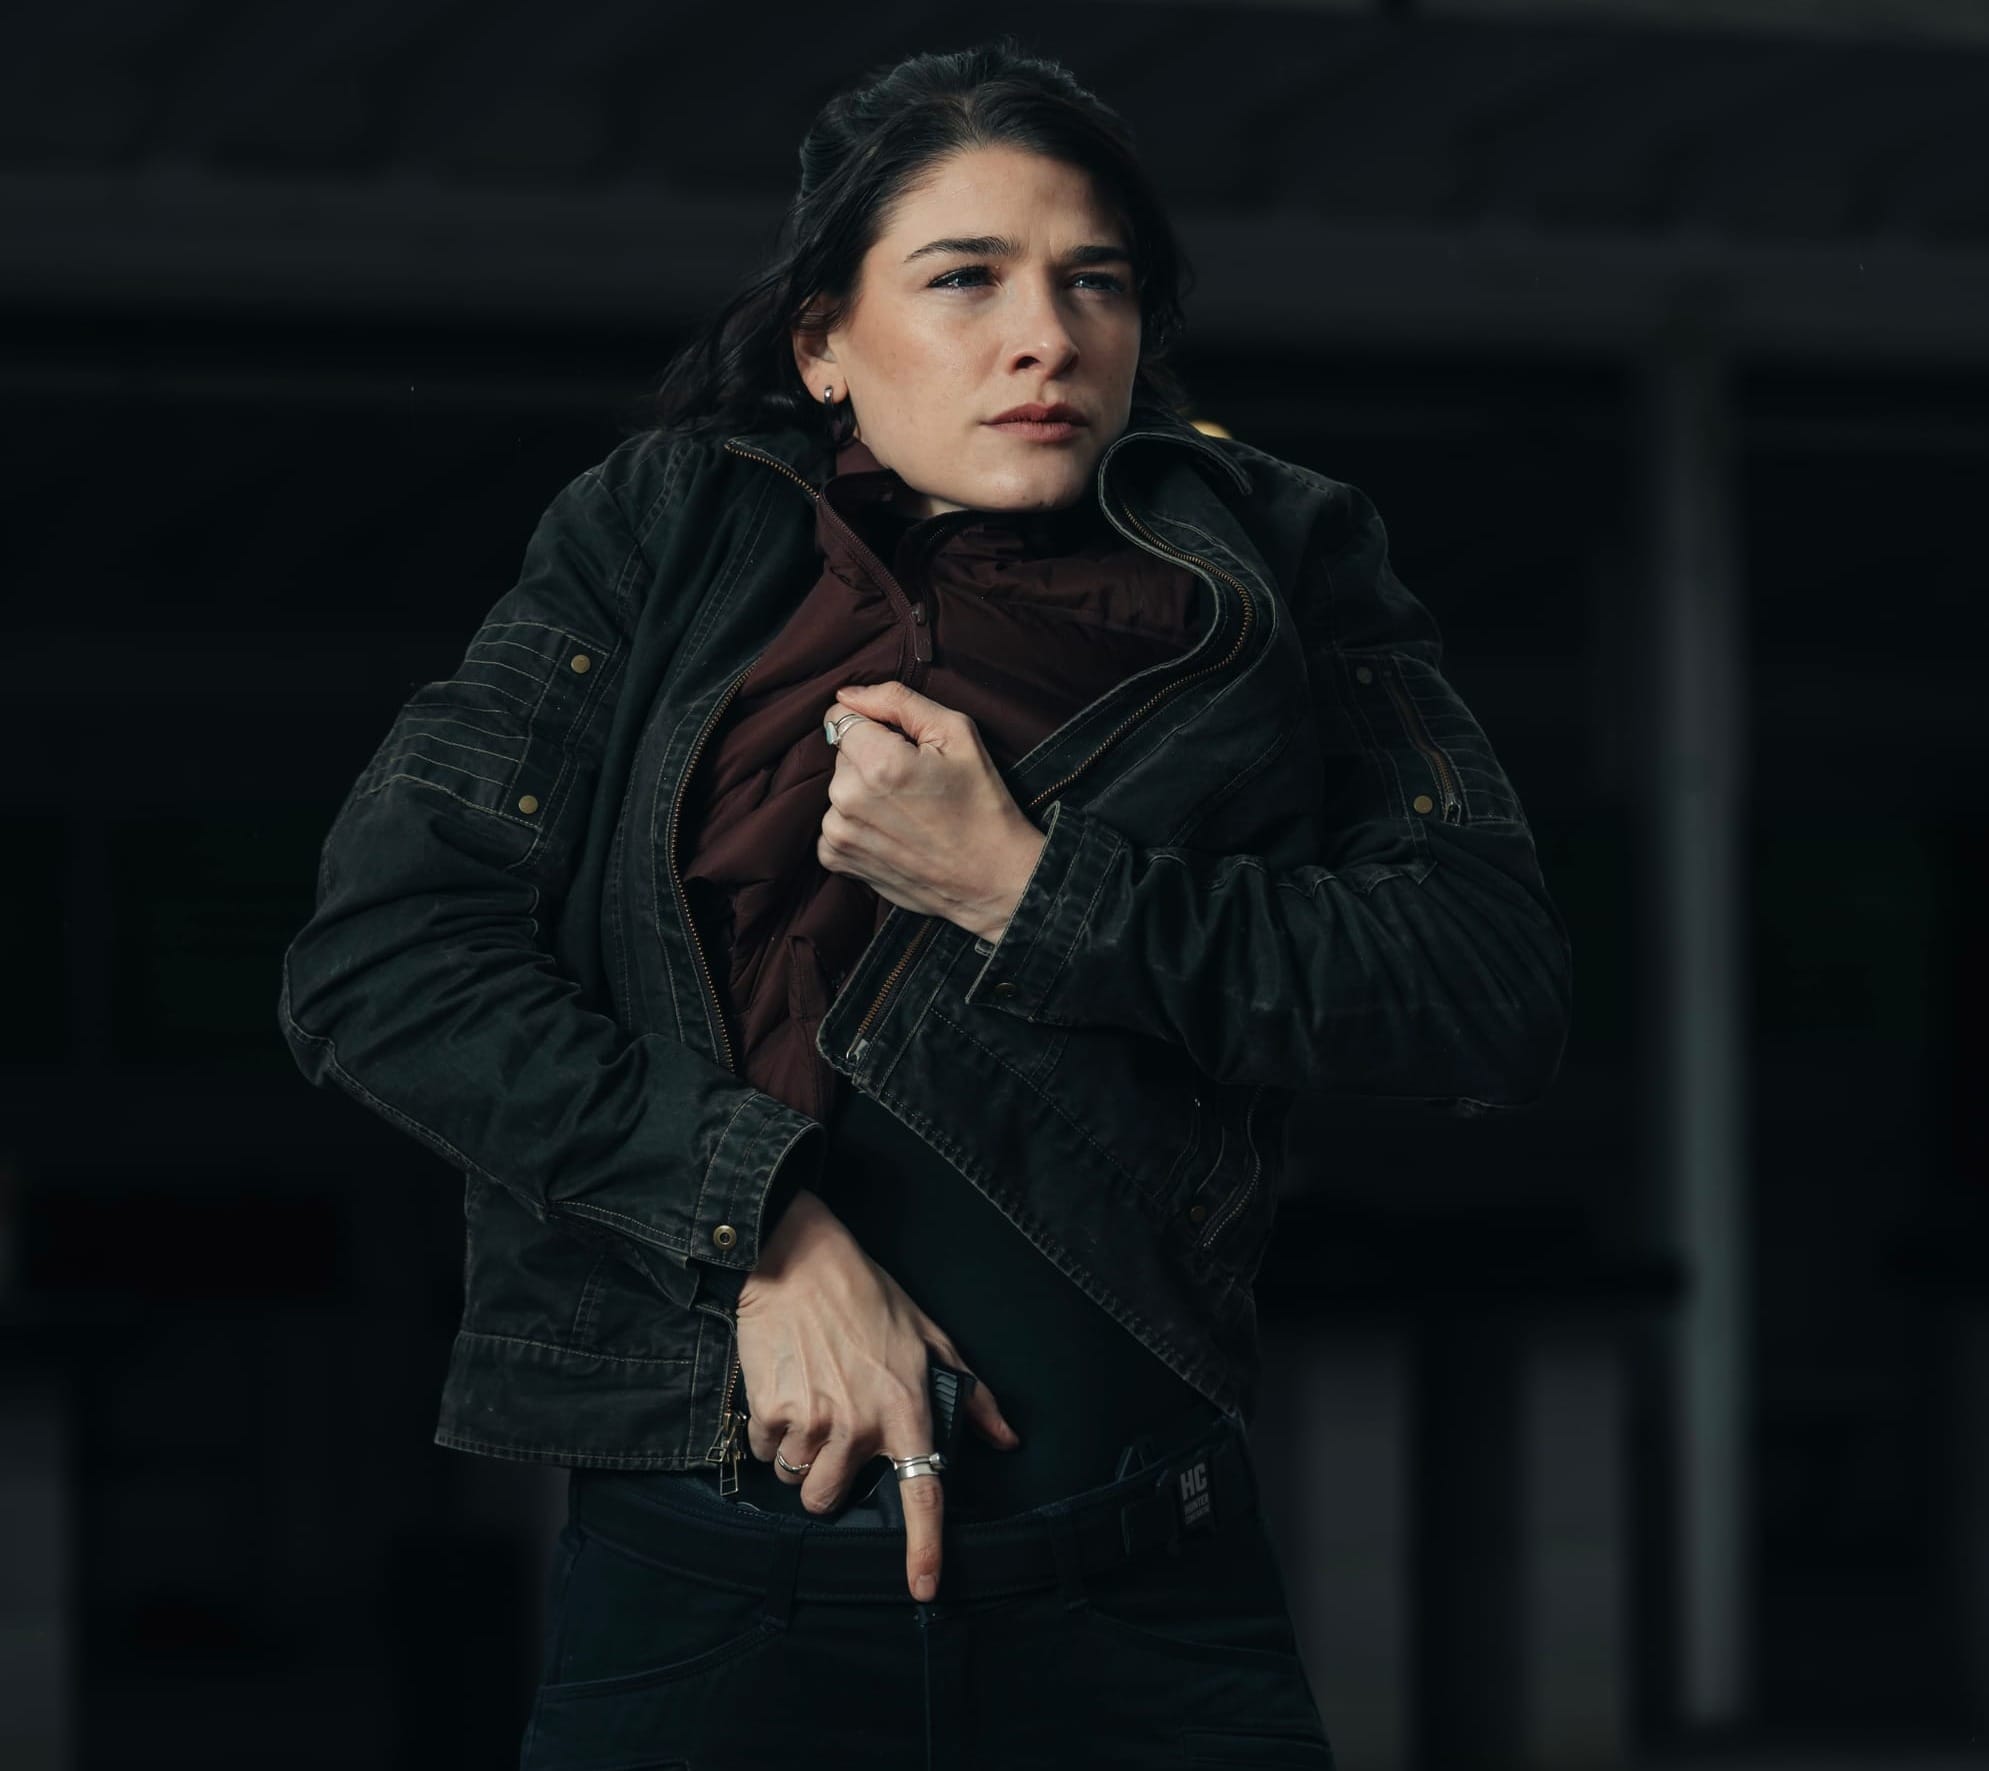
- Clear the concealment garment. I use my support hand to pull the garment high and pin it to my chest (to prevent passing the muzzle over my hand during the draw) enough that it cannot interfere with my grip or the firearm.
- Build the firing-hand grip. My middle, ring, and pinky fingers wrap securely around the grip while my thumb stays behind the grip so I have a secure purchase on the firearm before adding my support hand.
- Bring the firearm out of the holster. I drive the firearm upward until it is clear. I then rotate my wrist clockwise, orienting the firearm toward the target area while the trigger finger remains indexed outside the trigger guard.
- Meet with the support hand. Around chest level, the support hand joins the firearm, and I finish building my two-handed grip. This includes connecting your support hand with your pre-established strong-hand grip (your thumbs should be ‘spooning,’ to where there is no gap between them).
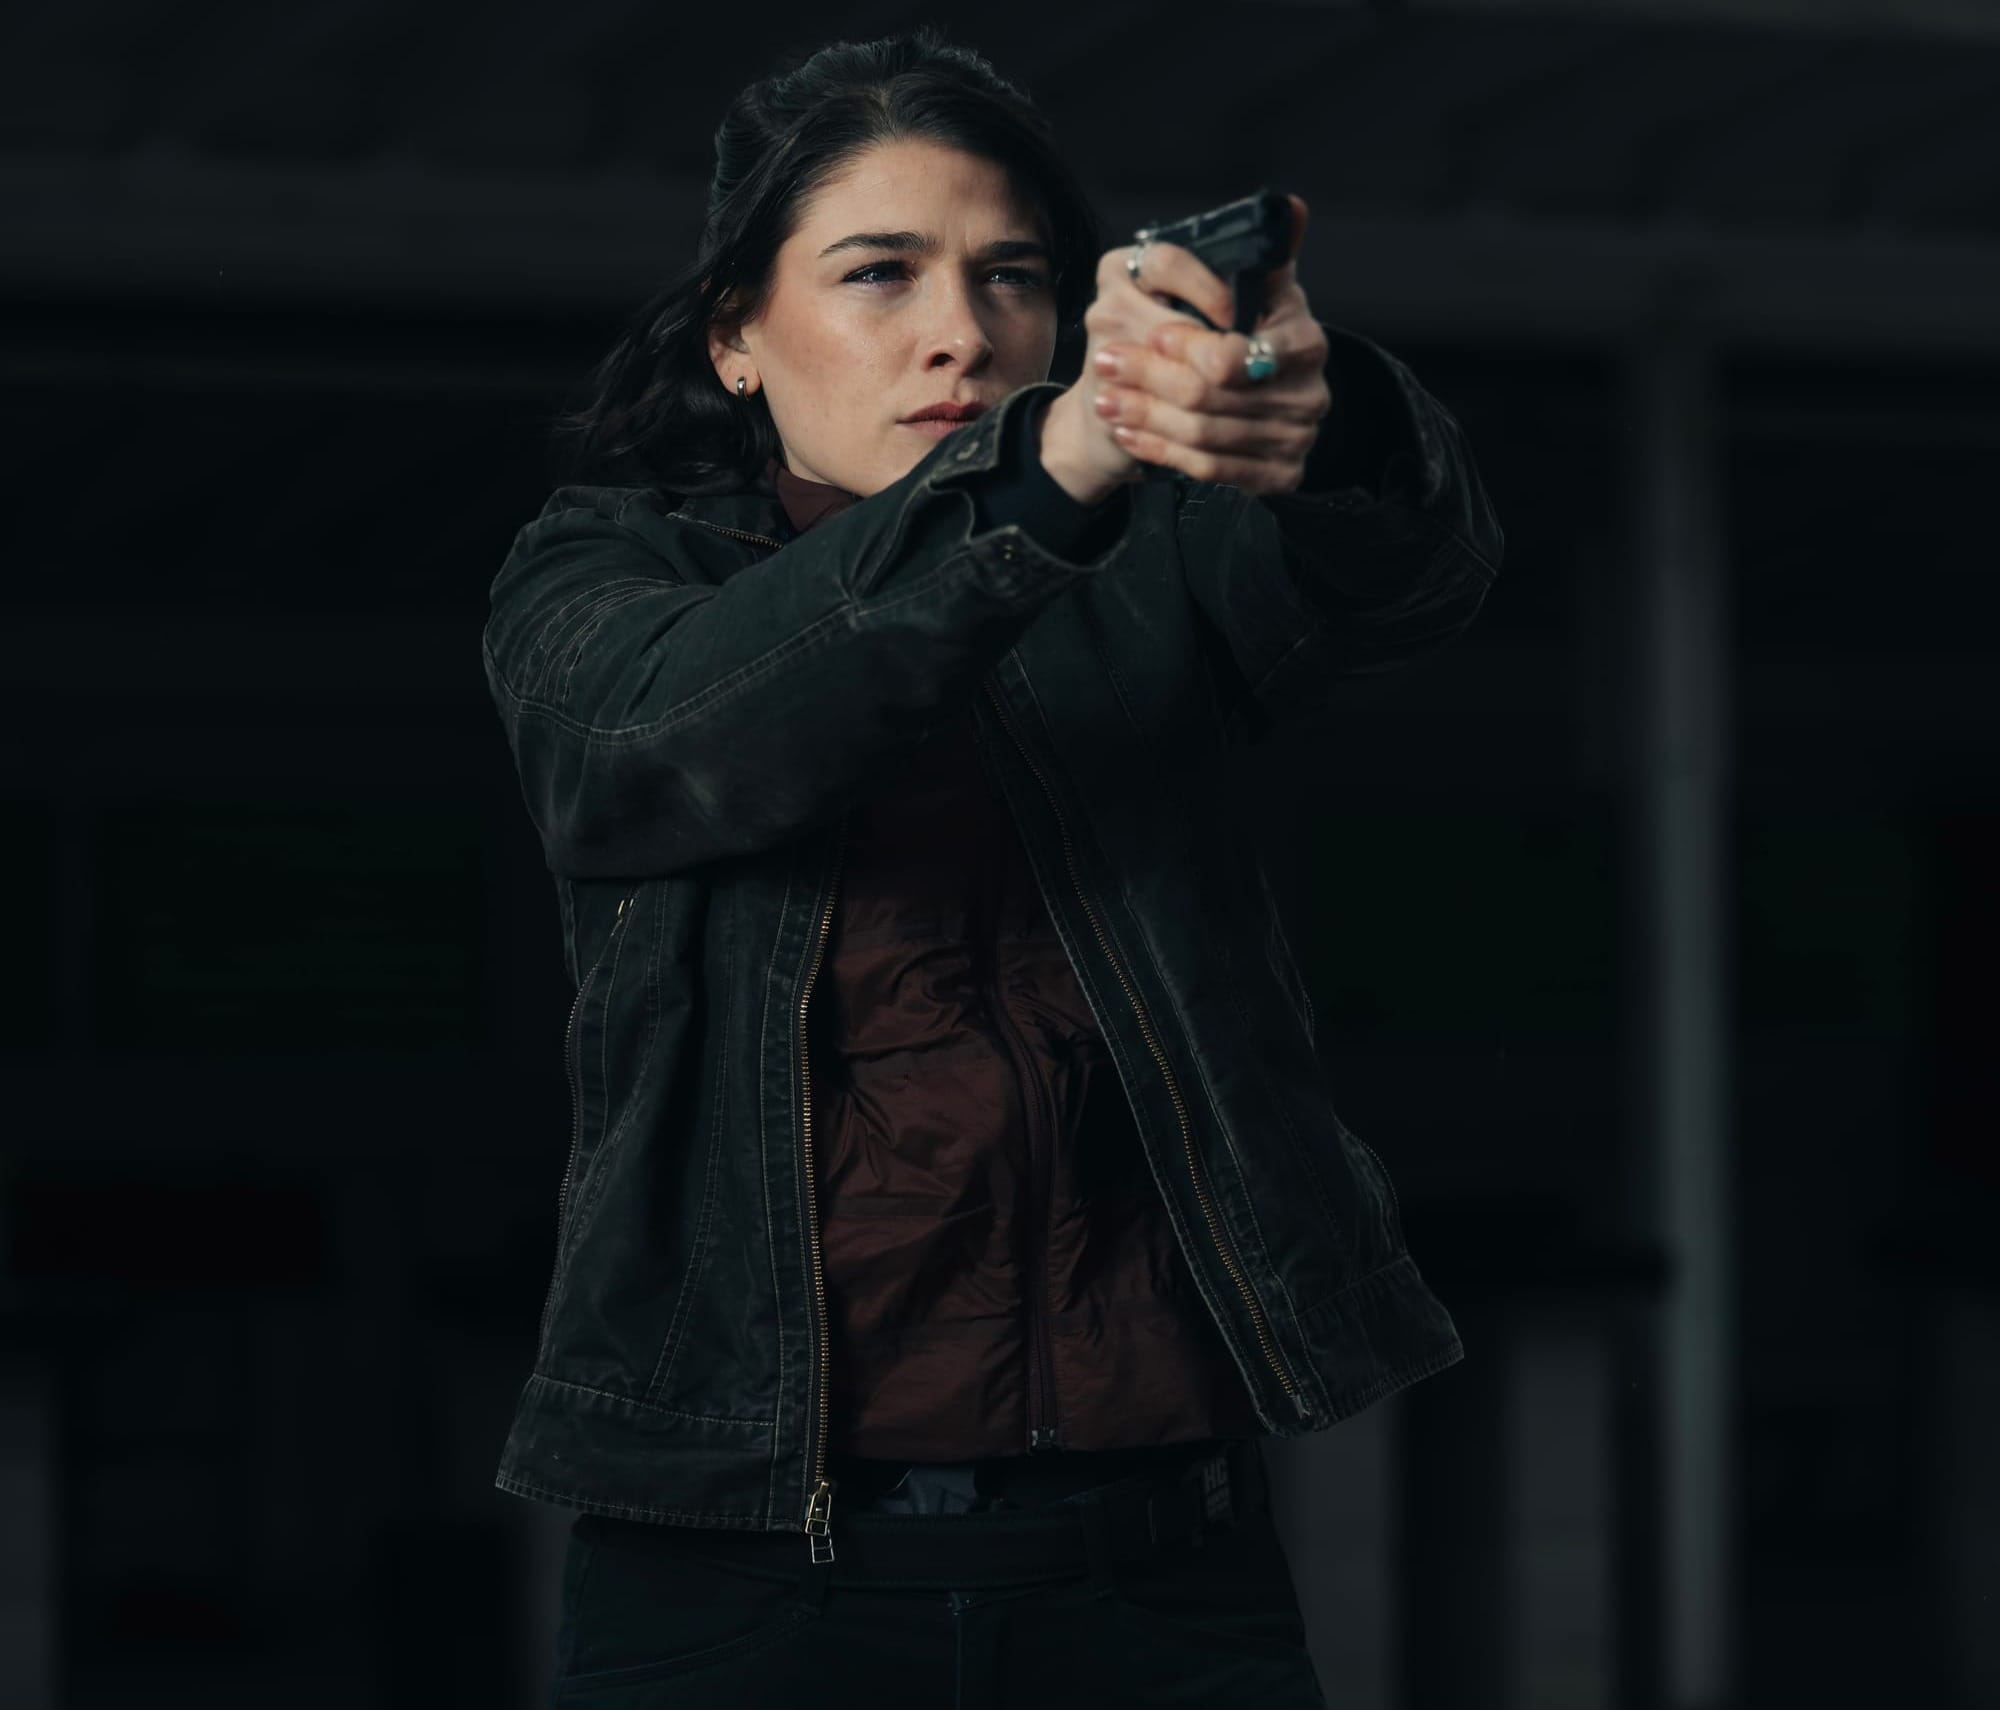
- Present. Once the grip is established, I extend toward the target and acquire my first usable sight picture.
- Reholster. When reholstering, drive the hips forward and angle the muzzle forward as you slowly lower the firearm into the holster. Note that there should be no rush here, as re-holstering is often the most dangerous part of concealed carry training when working with live ammo.
I would rather perform that sequence slowly and consistently than rush through it.
Speed is something I add to a movement that already works.
Dry Fire Drill: Draw to First Sight Picture
This drill is designed to give you repetitions on the actual draw you would use from your everyday concealment setup.
First, create a dedicated dry-fire environment.
There should be no live ammunition in the training room.
Remove the magazine, clear the firearm, and visually and physically verify that the chamber is empty. If you eject a live round during this process, remove it from the training area and check the firearm again before beginning.
Establish a safe direction.
Then choose a small visual aiming point. It can be something as simple as a circle drawn on a sticky note or a properly scaled dry-fire target.
Put on the same holster, belt, and concealment garment you actually use.
From there, review the holster draw steps (be sure to re-holster slowly).
At first, forget about speed. You can slowly work your speed and efficiency up with each draw.
I want to see the same grip and the same first sight picture over and over again.
Once those repetitions become consistent, you can add a shot timer and begin working within a comfortable par time. Gradually reduce that time only as long as the movement remains safe and technically consistent.
Your timer should measure your progress, not dictate your safety.
The Draw Does Not Always End at Full Extension
There is another piece of concealed carry training that I think deserves a lot more attention.
Not every defensive problem happens seven yards away with plenty of room to extend the firearm into a perfect two-handed shooting position.
Sometimes the problem is extremely close.
That means understanding firearm access is only one piece of the larger concealed carry skill set. There may be circumstances where fully extending the firearm is inappropriate or creates additional problems, which is why I think training around entangled and extremely close distances deserves its own professional instruction rather than trying to figure it out by yourself.
One of my favorite resources for this is ShivWorks Extreme Close Quarter Concepts, or ECQC.
ShivWorks describes ECQC as a 20-hour interdisciplinary course built around problems occurring from zero to five feet, with an emphasis on avoiding, stabilizing, and resolving problems at arm’s length or closer.
That zero-to-five-foot range does not get discussed enough in the firearms industry.
A traditional square-range draw is valuable. It just is not the entirety of concealed carry.
Concealed Carry Is a Lifelong Journey
Five years into my own concealed carry journey, I keep coming back to the same lesson.
There is always something else to learn.
Your firearm changes. Your wardrobe changes. Your body changes. Your lifestyle changes. Your skill level changes.
A good concealed carry setup should be able to evolve with all of that.
Traditional appendix carry may be one of the most common concealment methods, but common does not mean automatic. The holster needs to be safe. The firearm needs to sit in the right place for your body. The clothing needs to work with the setup. And then you need to actually train the draw.
Because the goal is not just to own a firearm that happens to be hidden underneath your shirt.
The goal is to build a concealed carry system you understand, trust, and continue training with.
In Part III, we are going to take this same IWB concept into competition and look at how I use concealed carry equipment to compete in USPSA, and why I deliberately choose to train some of these skills under match pressure.
Stay safe and stay vigilant.
Read the full article here
6 Comments
Great insights on Defense. Thanks for sharing!
Interesting update on Training for the Way You Actually Conceal- Part II: Traditional Appendix Concealment for Women. Looking forward to seeing how this develops.
Good point. Watching closely.
I’ve been following this closely. Good to see the latest updates.
Solid analysis. Will be watching this space.
This is very helpful information. Appreciate the detailed analysis.